Home About Press Crafts Recipes
Showing posts with label sewing. Show all posts

Monday, March 10, 2014

Sewing with My Daughter

Over the weekend my daughter and I made this retro doll.  This was the first time my daughter sewed something that didn't have pre-punched holes to guide her stitches.  It was a little challenging for her but I think she did a great job. From the project she learned how to sew a whip stitch. She sewed half of the face and the front of the dress.  I sewed the rest. 

At first she thought it was too hard but began to get the hang of it.  We split the project up into three days so it wasn't too daunting.  Towards the end of the project she wanted to sew on the shoes so I let her.  Moments later she broke down crying that it was too hard and it was so easy for me.  This was one of those moments where I had to choose my words wisely.  I explained that I've been sewing most of my life and she's just starting to learn.  I also pointed out how nice her stitches looked.  I would like to think that she felt encouraged.

Our projects don't always go as planned but they're time well spent.

This pattern came with issue 34 of Mollie Makes magazine.  The pattern was designed by Danielle Thompson who owns and runs the online store Kitschy Digitals. If you have a chance, check it out.  There's a lot of cute patterns over there. 

Monday, September 2, 2013

Book Review: How to Sew Japanese Sewing Patterns


As far as I'm concerned, the only problem with Japanese sewing books is that they're in Japanese.  And unless you have a Japanese friend (who sews) to interpret them for you, they become just a book of pretty pictures.  Luckily Rin Gomura-Elkan has a solution to this dilemma, her new E-Book How To Sew Japanese Sewing Patterns. This book was created to help you tackle all those Japanese sewing patterns you've been coveting.  If Rin's name sounds familiar to you, it's because she's also the author of the blog Sew In Love. 

In How to Sew Japanese Sewing Patterns the chapters include: Japanese Sewing Patterns Overview, Sizing, Sewing Equipment, The Sewing Process, Patterns to Try, More Resources and Appendix.  Through out the chapters, you will find conversion tables for Japanese translations.  She also shares practical tips that will help you read patterns quicker.  For example, one thing she reccomends is memmorizing "right side" and "wrong side" in kanji (Japanese characters). One thing I like about the book is the format.  All chapters are broken down in chrological order of the sewing process and the chapters themselves are very straight forward making the book easy to navigate.


Along with the book, Rin has created two unique sewing patterns that can be purchased with the book as a set.   The first pattern is this high waist skirt with ribbon. 

The second pattern is a dress with a pleated neckline.  Both patterns come in sizes small, medium, large, and extra large.  The patterns also come with full tutorials in English.

If you're interested in learning more about the book How to Sew Japanese Sewing Patterns, please visit the official site, click here.

Rin is offering a special discount to Zakka Life readers.

Receive 10% off with the code  ZAKKASEWING913 
code expires 9/13/2013

I have not been compensated in anyway for this review.  I do not receive commissions for any books purchased.

Monday, March 11, 2013

Craft: Felt Macaron Hairclips

Don't you just love macarons?  They're sweet, pretty and oh so delicate.   I probably could eat a whole plate of them if I had the chance.  Today I'm whipping up a pretty batch with zero calories.  Use them for pins or hairclips.

Supplies:
Felt - white and purple
Embroidery thread - purple
Sewing needle
Scissors

Click on image twice, right click on image, copy, paste and print.  Cut out each piece on the lines.  Pin to fabric and cut out all pieces in purple felt except the white filling template. 

1.  Place back tab on the back piece.  Sew where you see the dotted lines.  This will be the tab for you to slip a hairclip on.  Once done, flip piece over.

2.  Place the white filling on the top of the back piece.  Next place the top piece over the white filling.  Last place the bottom piece on the white filling.  You may have to do a little trimming to get your pieces to match up.

3.  Pull out two strings from one strand of embroidery thread.  Sew around the edges of the macaron (refer to picture).  Make sure to hide all knots underneath the top layer.

4.  Using one whole embroidery thread strand, sew the rest of the macaron (refer to picture above) onto the white filling only.

The left side of the picture is what the back of your macaron will look like when finished.  All you need to do is slide a hair clip onto it. 


Sunday, October 28, 2012

It's A Halloween Costume Miracle!


All I can say is that it's some kind of miracle that I finished this Halloween costume in time for the school carnival.  I had planned on starting on this costume a week ago but as you may know, I was in Connecticut attending a funeral instead.  With only two days to buy the fabric, cut the pattern and sew up the costume, I wasn't sure if I could do it.  I already had to cancel my daughters birthday party due to the funeral.  I didn't want to have to tell her I couldn't make her costume either.  So, I decided to just go for it. 

Friday, day before carnival: I go online to look over the pattern one more time before I commit.  I notice that the costume is supposed to be hand sewn, ugh.  I also notice in the comments that the foam the pattern calls for is hard to find, double ugh.  I already know I'm going to have to deviate from the pattern.

I get home with the fabric and get to work.  I only stop to pick up the kids from school and make dinner.  Then I go straight back to work.  By 11:30 PM I've cut out all the pieces and have sewn all the green dots on the blue felt.

Saturday, day of carnival:  I wake up at 6:00AM and immediately start laying out the butterfly pattern.  I keep thinking do I try to top stitch it with the sewing machine or, *gulp*, glue it? No, I stick with hand sewing it together (yep, I'm pretty much out of mind at this point).  I hand sew until I have to go to the school to set up the crafts for the carnival.  Come back home, eat, and get back to work. 


I can't believe  I've finished the back of the costume, all hand sewn!  I've got two hours until I need to be at the carnival.  At this moment I feel like I'm on a Halloween episode of Project Runway minus the cameras and snarky competition.  I've got two options, glue the pieces on or leave it blank.  I make the call to glue on the front pieces.  After all, I don't want her mistaken for a moth or bat after all the trouble I've gone through thus far.

I sew both set of wings together, stuff with foam, and sew up the opening. Next, I glue on the pieces and let it dry as I get ready.  And up to the very last minute (no exaggeration) I sew on the elastic straps.  I grab a handful of safety pins, shove them in my pocket and run out the door.

Mission accomplished!

Tuesday, October 2, 2012

Christmas Mug Rugs

I realize it's a little strange talking about Christmas when I just posted a Halloween post two days ago. But if you're making your Christmas gifts this year, you know the importance of starting early.  I bet some of you even started working on gifts in July.  So today I'm going to share a little bit about what I'm sewing for Christmas with some fabric I was sent to review by Modes4u.com.

I've worked with Modes4u before and one of the things I like about their store is their fabric selection.  Specifically, they have an amazing selection of Japanese fabric.  My only problem with the fabric is trying to decide what I'm going to make with it.  I don't want to squander it on any old project.
  

So, I finally settled on a project that's worthy of my designer fabric, mug rugs.  Mug rugs are like a glorified coaster.  They're a little bigger.  Sometimes they have pockets for snacks or a circle for your cup.  They come in all shapes and sizes.  They're also the perfect project for fabrics sold in .5meter units.

For this mug rug I used the tutorial from the blog Fashioned by Meg.

For the roof I chose to use "Large Pretty Petals" by Michael Miller.  The shape of the flowers worked out perfect for the roof.  One flower cut in half was the perfect size for the roof template.  And I love how the fabric looks like an ornate roof top.

For the doors I used a coordinating fabric by Michael Miller called "Nordic Holiday".  I chose this print so it would match the roof and made a nice focal point for the doors.  I also liked having the variety of trees and reindeer.


Why should the front get all the cute fabrics, right?  I always like the surprise of turning something over to find it looks just as pretty as the front. That said, I went with a fabric called Snowflakes by Timeless Treasures for the back of the mug rug.

Have you started creating gifts for Christmas yet?  What are you making?


Wednesday, May 16, 2012

Craft Book Review: Reinvention

When Wiley publishing asked if I would like to review a copy of Reinvention by Maya Donenfeld of course I said yes.  I've been following Maya's blog (Maya Made) for years now and when she announced she was publishing a book, I couldn't wait to see it.  I knew it would be just as inspiring and creative as her blog.

Reinvention by Maya Donenfeld is a sewing book filled with 28 projects made from salvaged materials.  The chapters are broken down by materials, Linen, Burlap, Jersey, Wool, Denim, Mailers, and Vintage. Along with the projects, there are also two chapters dedicated to sewing basics and printing basics.  This book has projects for everyone from sewer beginners to advanced.

One of the things that stood out to be in this book was that Maya shares the history of the materials and their environmental impact.   For example, she shares about the product Tyvek which I knew nothing about until reading Maya's book.  The Environmental Impact section really made me think about some of the products I buy and what I could do without.

Below are few of my favorite projects.

Toadstool Cottage made with felted wool.

Reversible Summer Sling with Maya's signature gingko leaf prints.

Little Forager Skirt made with jersey.  I'm thinking this would be perfect for a day at the beach searching for sea glass.

Do you like to work with recycled materials? If so, what's your favorite material to work with?  Please share.

Tuesday, May 8, 2012

Mother's Day Embroidery Brooch

If you've been following this blog, then these brooches might look familiar to you.  They were inspired by this post I wrote a while back. Only this time I decided to skip a step making them easy to whip up for a last minute Mother's Day Gift.  Instead of creating the embroidery myself, I salvaged pieces from worn out tea towels.  So really, all you're doing is sewing a tiny pillow.  Here's the how-to:

Supplies:
Tea towel already embroidered - look for these at the thrift store.  Since you'll be cutting it up, it doesn't matter if it's stained.  You should pay no more than a couple dollars for the piece.

Matching Embroidery Thread

Sewing Needle

Scissors

Pollyfill

Pin Back that you can sew on

1.  Cut out embroidery piece.  Place on another piece of solid fabric from your tea towel.  Pin together and cut out in the shape you choose.  Make sure to leave extra room for stitching.  You can always trim back the edges after.

2.  Using a back stitch, sew all around the image leaving about a one inch opening.

3.  Lightly stuff with pollyfill and continue to stitch all the way around the embroidered piece.  Knot and sew in loose threads.  Trim edges if necessary.  If you're concerned your fabric will fray, add the tiniest amount of glue to the edges.

4.  Sew on your pin back.  Test out the pin back to make sure it works well.  Usually these kind of pins come in packs of 50 and I've found there are always a couple duds in the pack.

Experiment with different shapes.  The heart in the back came from the corner of a hankie.  There was no one image to outline so I cut it into a heart shape.  I also used a running stitch for the heart.

  Get creative with your pins.  Use them to decorate bags, hats, sweaters, hair ties, or even presents. 

Sunday, March 18, 2012

Handsewn Felt Food & Tea Bags

It rained all last week which kept me inside most of the time. I was crafting away but couldn't take pictures to share with all of you due to the weather. On the upside, I was able to get some projects finished. A while back I started working on a birthday gift, a tea party in a box. I made the tea bags but kept putting off making the cookies. As you can see, I finished sewing the cookies and was able to cross another UFO (unfinished object) off my list. That always feels good.

The patterns to make the cookies above came from the book My Favorite Felt Sweets. It's one of my favorite felt craft books. What makes it unique is that it also has patterns for traditional Japanese sweets.

I made the tea bags from the pattern on the Tori Jayne blog.


I packaged up the tea bags in a cellophane bag with some pretty purple card stock.

And to seal the bags, I used deco tape with smiling tea cups and cakes. I tried to get a close-up of the print for all of you to see. If you click on the image, you should get a larger view.

Anyone make anything over the weekend? Please share. If you posted about it, feel free to leave a link in the comments.

Monday, September 12, 2011

Craft: Fabric Yo-Yo Coin Purse

I had this idea of making a fabric yo-yo purse for a while now. With the kids back in school, I finally got a chance to sit down and test it out and it worked! It's so nice when projects turn out the way you envision them, or even better, morph into something you never expected. Either way it's always nice to see a craft concept come to life, agree?

Okay on to the project, today I'm sharing how to make this fabric yo-yo purse. All you need are some basic sewing skills to whip this up in a day or less.

Supplies:
Coin purse frame set (pictured above) - I purchased this one at Daiso. You can also find them at fabric stores and online.
Fabric & matching tread
2 Buttons
E-6000 Glue
Scissors
Pliers

First you want to create two fabric yo-yo's. The size of your yo-yo's will depend on the size of your purse frame. Most frames come with a pattern which you can adjust the size of your yo-yo to. You can find the directions to make fabric yo-yo's here.

Hand sew wrong sides together with a whip stitch where you see the blue dots.

Cut raffia (will come with kit) to the length of your frame. Sew on the opening of both sides of the purse.

Add glue to inside of the frame. Push fabric into the inside of the frame. Crimp the frame closed with a pair of pliers. Cover frame with fabric when crimping to protect the frame.

*Usually a purse frame will come with instructions similar to this tutorial.

Sunday, April 17, 2011

Craft: Potholder Eyeglass Case

I was surfing the web a couple weeks back when I discovered this cute Girl's Emergency Clutch tutorial on Tidy Mom by eighteen25. The emergency clutch was made out of a potholder which put my creative gears in motion. I started envisioning other things that could be made with potholders.

After a little brainstorming, I thought up the idea of an eyeglass case. Oh, I thought I was so clever, it was a great idea. . . then I did a Google search. Turns out my idea has been done a thousand times and then some. Don't you just hate when that happens?

Well, I decided to do a tutorial anyways because it just so happened I was in need of a sunglass case. Maybe you need a new case too or just want to make something. Here goes.

Supplies:
One basic pot holder
Embroidery thread
Hand sewing needle
Embellishments - contrasting fabric, no sew adhesive, paint, buttons, etc (all optional)

Start with a basic potholder like the one above. You don't need one with a pocket.

Embellish. I made some fabric appliques to add to the potholder. I just used a no sew adhesive to add the fabric houses. You could also do freezer paper stencils or embroider a monogram on the top. This is where you can really tailor the project to your own style.

Fold potholder in half and match up edges. Sew both sides together with a running stitch (refer to yellow lines). I used embroidery floss to sew up the case because the fabric is so thick. Knot ends, trim, and you're done.

Friday, September 10, 2010

Hand Sewn Bird Ornament

If this bird looks familiar to you, that's because you probably saw it on Spool back in 2008 (has it been that long?). I've always admired the pattern but was never sure what to do with the birds until now.

For this ornament I shrunk down the pattern to 75% because I was concerned it would be too big for a Christmas ornament. Now that I've made it, I think the original size will work just fine.

For the pattern visit the Spool Blog and look for the bird pattern in the right sidebar.

What ornaments are you guys making for Christmas? Don't pretend you haven't thought about it. I know some of you started in July or earlier!

Tuesday, June 22, 2010

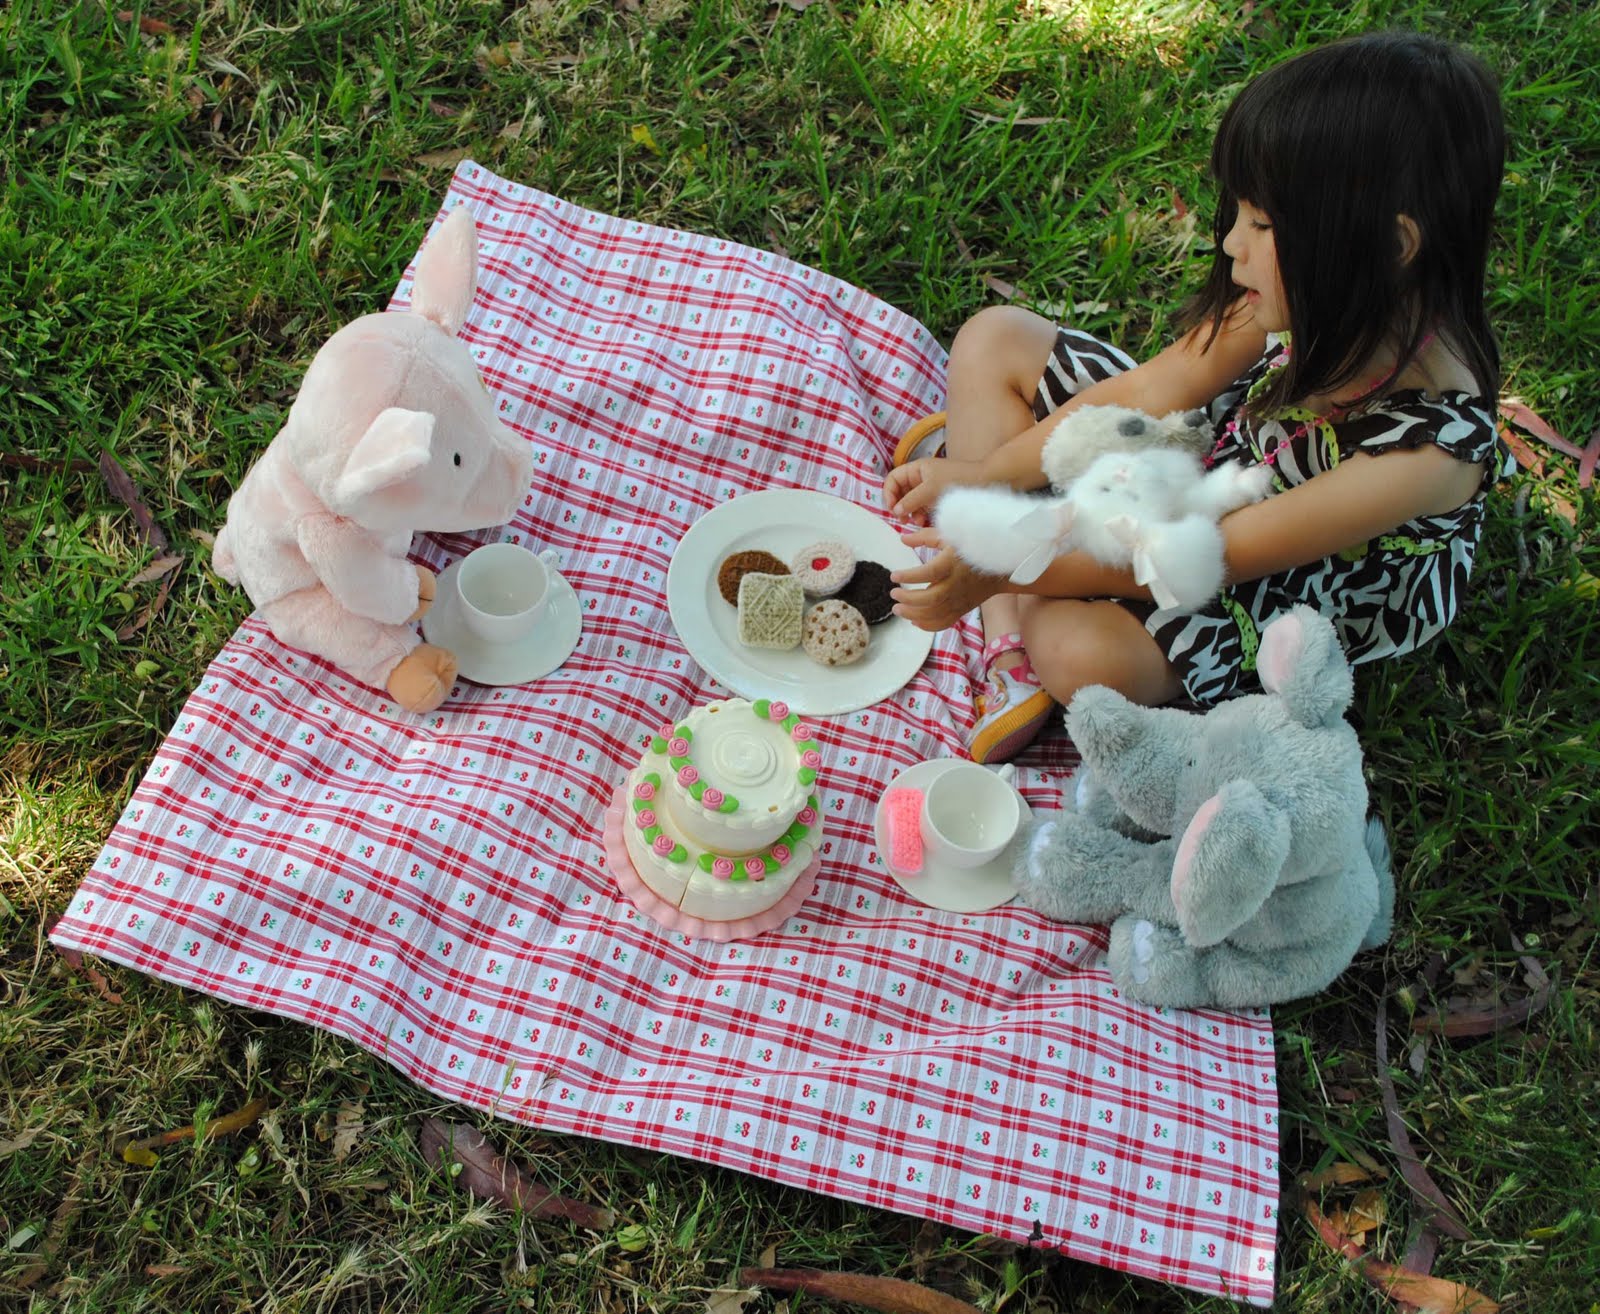
How To Sew a Picnic Blanket Tote

Unfold your tote into...

...a picnic blanket.

Well, most of you guessed it, it was a picnic blanket tote. Either those gingham handles gave it away or I have really smart readers. I'll go with the latter.

As promised here's the tutorial on how to make a picnic tote. When I was younger I used to have one of these bags made out of towels. For the longest time I kept it with the hopes of recreating the tote. I must of given up on the idea because I finally got rid of it. Now some ten years later, I wish I had the tote to compare. Isn't that always the case?

Supplies:
2 fabric squares 33" x 33" - this will be for the blanket
2 fabric rectangles 14" x 13" - one rectangle will be the outside of the bag and one will be the lining
2 fabric strips 3" x 25" - for the handles
matching thread
sewing machine
scissors
pins

For the handles - fold one strip of fabric in half length wise. Sew down the length of the strip with a 1/4 inch seam. Press open seam. Turn inside out. Repeat for second handle. Set aside.

Face squares (33" by 33") right sides together. Sew all along the edge with a 1/2 inch seam leaving a 5" opening at the center bottom. Trim corners and press open seams. Turn right side out. Sew around the perimeter with a 1/4 inch seam.

Place both rectangles right sides together and sew a 3/8 inch seam along the perimeter leaving a three inch gap at the bottom (refer to red line). Trim corners and press seams open. Turn right side out.

Pin rectangle to square, right side of fabric to wrong side of picnic blanket (refer to picture). Sew along the edge with a 1/4 inch seam (refer to red lines). Make sure when you sew the rectangle to the blanket you sew up the three inch opening that was on the bottom of the rectangle.

Pin the handles three inches in from the inside of the rectangle. Sew on to the rectangle only, making sure not to attach the handles to the blanket. Use red lines as guide for sewing.

Line up second handle just above the first handle. This handle will be sewn on the blanket only. Refer to red lines for sewing guides.

Here's a close up view of the handles to see how they were attached.


Done. The other side of your tote will be part of the blanket.

How To Fold Your Blanket Into a Tote

1-Fold in one side. 2-Fold in other side. 3-Flip over.


4-Turn bag inside out. 5-Fold down. 6-Tuck into bag. 7- Done.

Zakka Life has moved to a new site!

Click here to visit the new site.